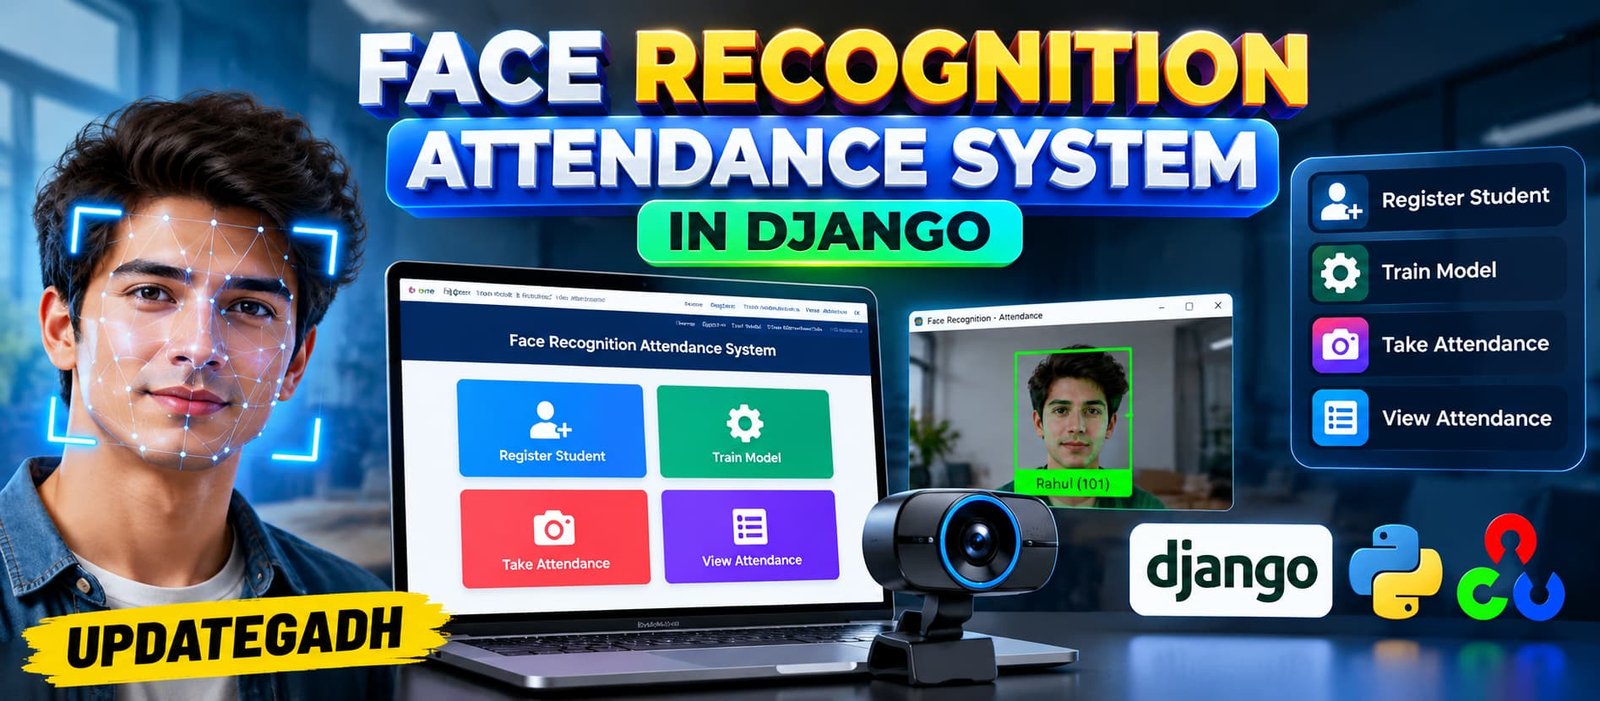
Demo Video
Face Recognition Attendance System in Django
Face Recognition Attendance System in Django is a Python-based smart attendance and secure entry system that uses OpenCV-based face recognition, webcam verification, geo-location validation, entry and exit tracking, and automatic attendance reporting. The system provides separate Student and Admin functionality with dashboard analytics.
What You Will Get
Face Recognition Attendance System in Django
Face Recognition Attendance System in Django is a Python-based attendance and secure entry application designed to automate attendance verification using facial recognition. The project uses Django as the backend framework and OpenCV for face recognition processing.
The system is designed around a smart attendance workflow where a student opens the attendance page, provides browser location permission, captures their face through a webcam, and submits the information to the Django backend. The system matches the captured face with stored face encodings and validates the student's location before recording attendance.
Key Features
- Student face registration
- Webcam-based face recognition
- Automatic attendance marking
- Geo-location validation
- Campus-radius validation
- Entry and exit time tracking
- Late entry detection
- Early exit tracking
- Student management
- Daily attendance logs
- Date-based attendance filtering
- Student-based attendance filtering
- CSV and Excel report generation
- Admin dashboard analytics
- Student-wise attendance summaries
- Monthly attendance percentage
- Time-based attendance insights
How the System Works
- The student opens the attendance page.
- The browser requests location permission.
- The webcam captures the student's face.
- The Django backend receives the image.
- OpenCV generates and matches face encodings.
- The system checks the student's geographical distance from the campus.
- The attendance record is saved with date, time, and entry or exit status.
Technology Stack
| Technology | Purpose |
|---|---|
| Python | Application development |
| Django | Backend web framework |
| OpenCV | Face recognition and computer vision |
| MySQL | Database |
| HTML | Web page structure |
| CSS | Interface styling |
| Bootstrap | Responsive interface |
| JavaScript | Client-side functionality and browser interaction |
| Haversine Formula | Geo-location distance calculation |
Software Requirements
- Python
- Django
- OpenCV
- MySQL
- Webcam
- Visual Studio Code or another Python-compatible IDE
- Modern web browser
Watch Project Demo
Watch the complete project demonstration to understand the face registration, webcam-based attendance, face recognition, location validation, dashboard, and attendance reporting workflow.
Watch Face Recognition Attendance System in Django Demo
More Details and Full Documentation
For complete project information, implementation details, features, and documentation, visit the original UpdateGadh project page.
View Complete Face Recognition Attendance System Documentation
Project Modules
2. Face Recognition Module
3. Webcam Attendance Module
4. Geo-location Validation Module
5. Campus Radius Validation Module
6. Entry Tracking Module
7. Exit Tracking Module
8. Late Entry Detection Module
9. Early Exit Tracking Module
10. Student Management Module
11. Attendance Log Module
12. Attendance Filtering Module
13. CSV and Excel Report Module
14. Admin Dashboard Module
15. Attendance Analytics Module
16. Student Attendance Summary Module
17. Monthly Attendance Module
18. Time-Based Attendance Insights Module
Installation Guide
1. Install Python on your computer.
2. Install MySQL and create a database for the project.
3. Install Visual Studio Code or another Python-compatible IDE.
4. Extract the Face Recognition Attendance System project.
5. Open the project folder in Visual Studio Code.
6. Create a Python virtual environment.
7. Activate the virtual environment.
8. Install the required Django, OpenCV, and face recognition dependencies.
9. Configure the MySQL database connection in the Django settings.
10. Apply the Django database migrations.
11. Create the required student and administrator records.
12. Configure the campus location and permitted geo-radius.
13. Connect a webcam to the computer.
14. Start the Django development server.
15. Open the application in your web browser.
16. Register the student's face through the face registration functionality.
17. Allow browser location permission when marking attendance.
18. Use the webcam to capture the student's face.
19. The system verifies the face and checks the campus location.
20. Review the attendance record and dashboard reports.
21. Export attendance information in CSV or Excel format when required.
FAQ for this project coming soon.
No reviews yet. Be the first to review!
Write a Review
Related Projects
 25% OFF
Featured
25% OFF
Featured
 23% OFF
Featured
23% OFF
Featured
 17% OFF
Featured
17% OFF
Featured
 20% OFF
Featured
20% OFF
Featured