College Management System Using MERN Stack
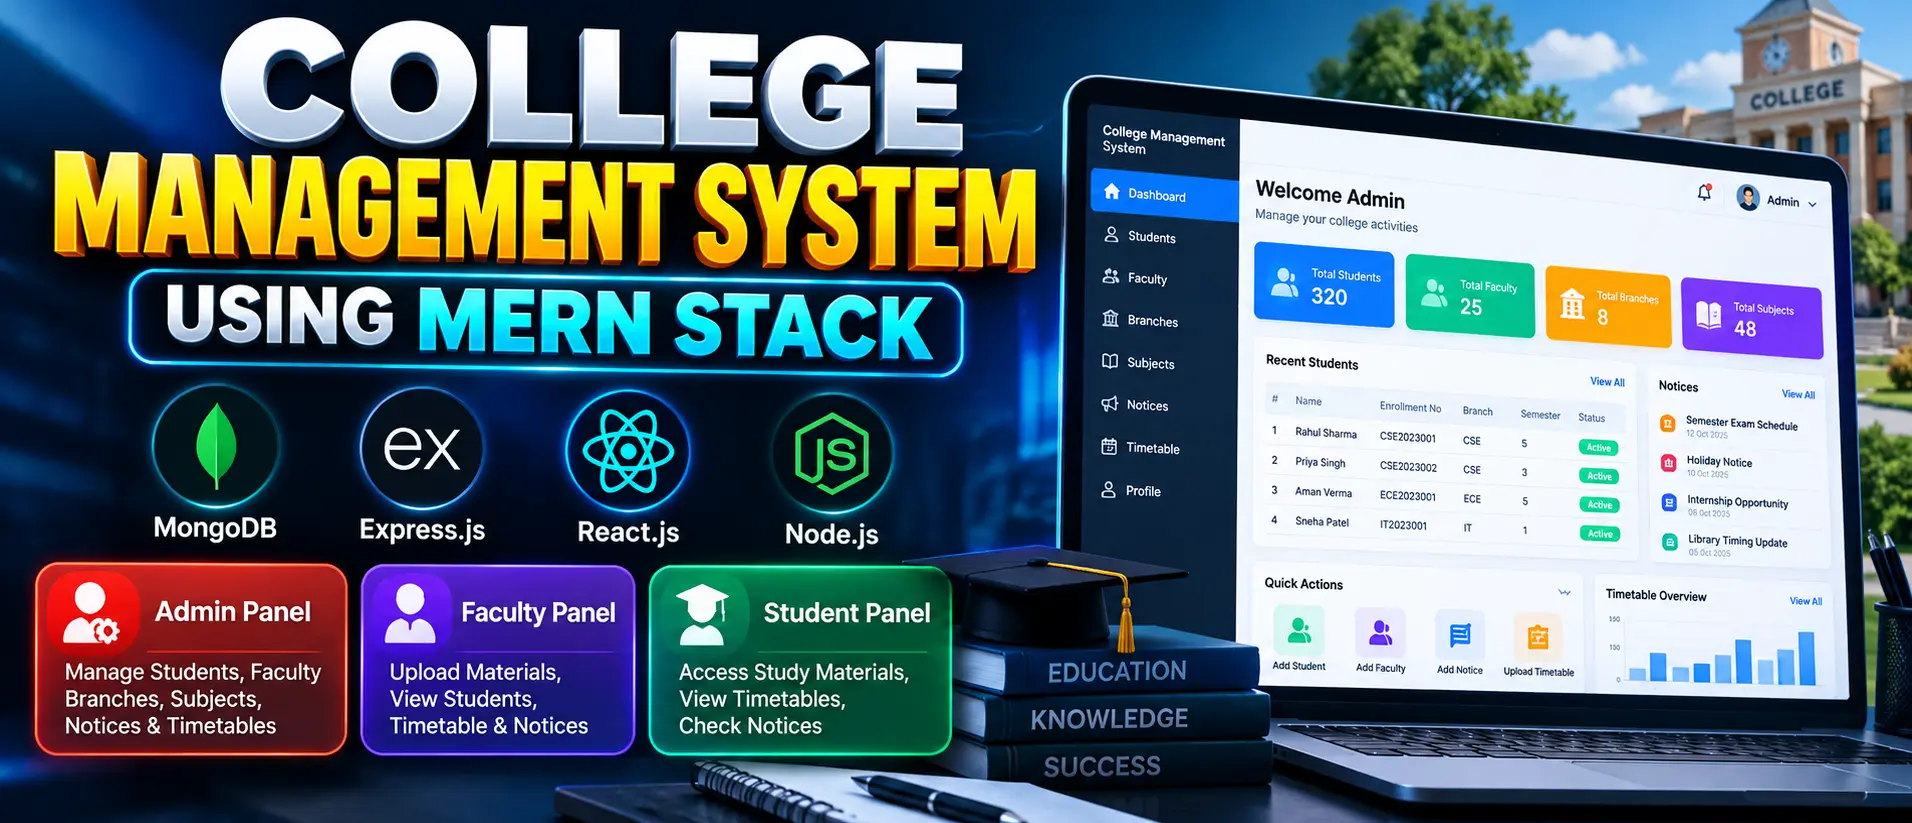
College Management System Using MERN Stack is a full-stack web application built with MongoDB, Express.js, React.js, and Node.js. It provides separate Admin, Faculty, and Student panels for managing student records, faculty details, branches, subjects, notices, timetables, and study materials through a centralized academic management platform.
What You Will Get
Project Overview
The College Management System Using MERN Stack is a full-stack web application designed to organize academic information and simplify routine college administration. It provides dedicated panels for administrators, faculty members, and students, allowing each role to access the functions relevant to its responsibilities.
Developed using MongoDB, Express.js, React.js, and Node.js, the project demonstrates CRUD operations, REST API integration, JWT-based authentication, database management, and role-based access control. It is suitable for students who want practical experience developing a modern academic management application.
Key Features
- Student Management: Maintain student profiles, enrollment numbers, and academic details.
- Faculty Management: Add and maintain faculty records and contact information.
- Branch Management: Organize academic branches and course structures.
- Subject Management: Manage subjects according to academic branches and semesters.
- Notice Management: Create and publish academic notices for faculty members and students.
- Timetable Management: Upload and manage timetables for different branches and semesters.
- Study Materials: Allow faculty members to upload notes, assignments, and syllabus documents.
- Material Filtering: Filter learning resources by subject, semester, and material type.
- Student Search: Find student records using enrollment number, name, or semester.
- Student Portal: Access academic profiles, learning materials, timetables, and college notices.
- Profile Management: Allow administrators, faculty members, and students to view and update their profile information where applicable.
- Account Management: Support password and account credential updates.
- JWT Authentication: Use token-based authentication for protected application access.
Administrator Workspace
The administrator manages student and faculty records, academic branches, subjects, notices, and timetables. Profile management allows the administrator to update account information and credentials.
Faculty Workspace
Faculty members can manage their profiles, upload study materials, organize learning resources, access and maintain relevant timetables, search student information, and view administrative notices according to the application's permissions.
Student Workspace
Students can view their personal and academic information, access study materials, filter available resources, view or download timetables, read college notices, and update their account credentials.
Technology Stack
- Frontend: React.js and JavaScript
- Backend: Node.js and Express.js
- Database: MongoDB
- Authentication: JSON Web Token (JWT)
- Styling: Tailwind CSS where configured
- API: REST API endpoints
Software and Tools Required
- Node.js and npm
- MongoDB installed locally or a MongoDB Atlas connection
- Visual Studio Code
- A modern web browser
- Git, if required for version control
Project Applications
This project is useful for demonstrating student record management, faculty coordination, academic resource sharing, timetable administration, authentication, and full-stack application development. It can serve as a learning project for BCA, B.Tech, MCA, and other computer science students.
More Details and Full Documentation
For the original project details, screenshots, setup instructions, and documentation, visit the official UPDATEGADH project page:
Installation Guide
1. Install Node.js and npm on your computer.
2. Install MongoDB locally or prepare a MongoDB Atlas connection.
3. Extract the project ZIP file and open the project folder in Visual Studio Code.
4. Open the terminal and navigate to the backend directory using: cd backend
5. Install backend dependencies using: npm install
6. Create a .env file inside the backend directory.
7. Configure the environment variables according to the project: MONGODB_URI=mongodb://127.0.0.1:27017/College-Management-System, PORT=4000, JWT_SECRET=YOUR_SECRET_KEY, FRONTEND_API_LINK=http://localhost:3000
8. Save the environment file and replace the example values where necessary.
9. Start the backend server using: npm start
10. Open a second terminal and navigate to the frontend directory from the project root using: cd frontend
11. Install frontend dependencies using: npm install
12. Start the frontend application using: npm start
13. Open http://localhost:3000 in your browser, subject to the configured frontend port.
14. Log in using valid credentials for an existing Admin, Faculty, or Student account.
15. Test student management, faculty records, branches, subjects, notices, timetables, and study material features according to your assigned role.
No reviews yet. Be the first to review!
Write a Review
Related Projects
 55% OFF
Featured
55% OFF
Featured
 20% OFF
Featured
20% OFF
Featured
 33% OFF
Featured
33% OFF
Featured
 50% OFF
Featured
50% OFF
Featured