Demo Video
E-Waste Facility Locator – ELocate Recycling Management Web Application
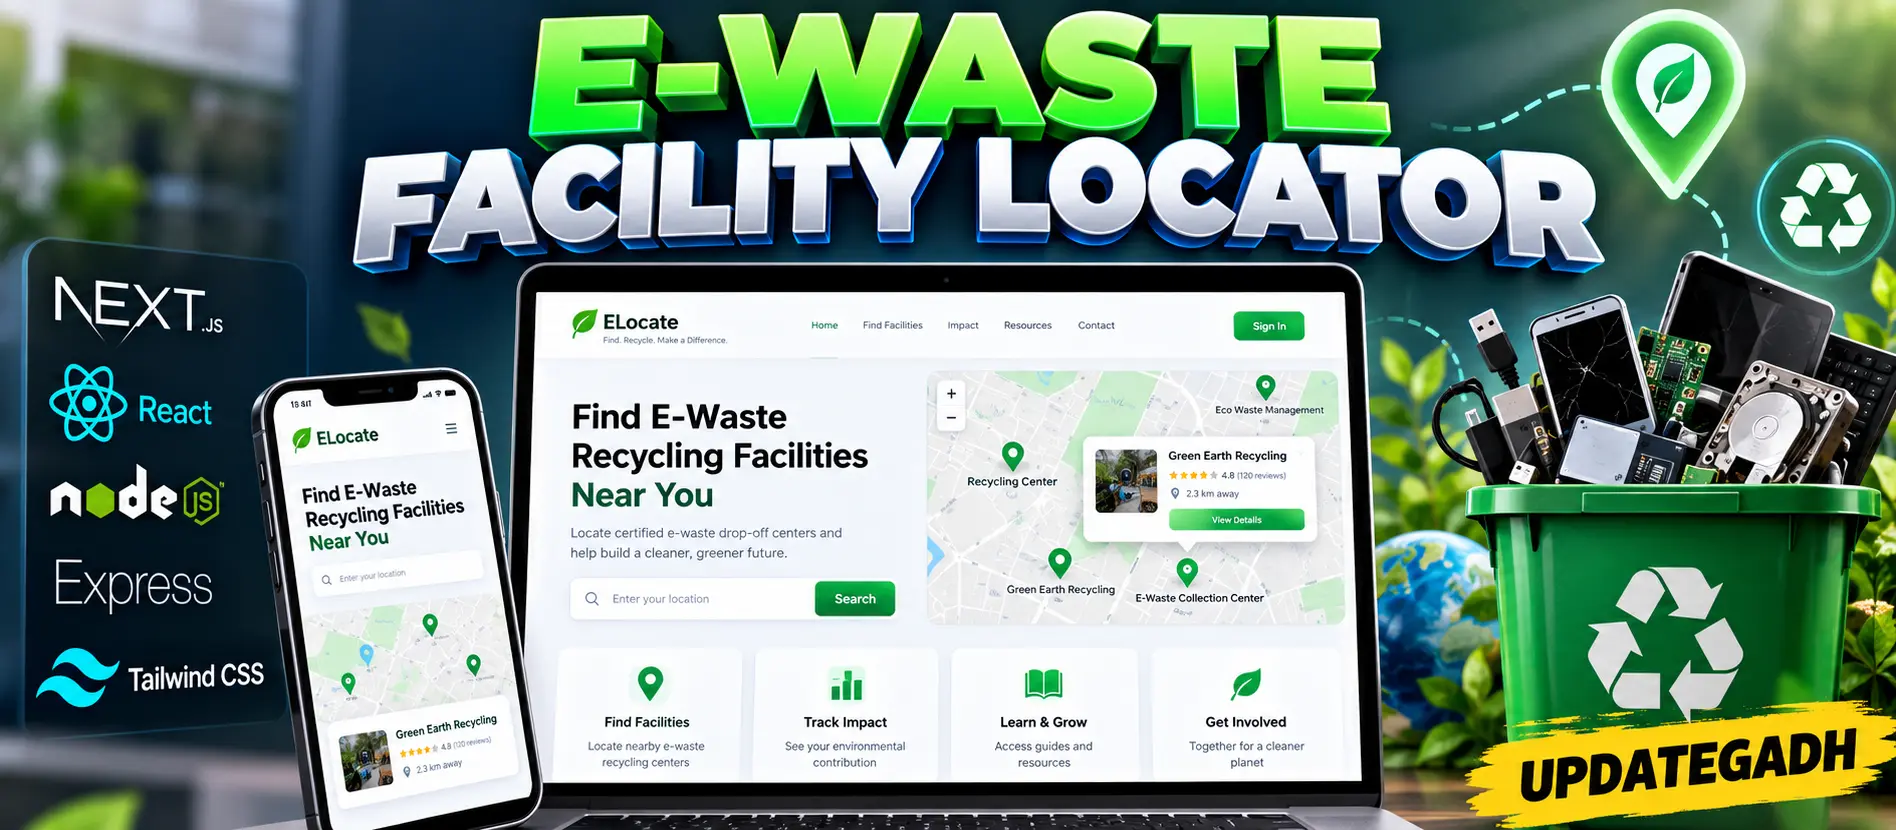
E-Waste Facility Locator is a responsive web application that helps users find nearby e-waste recycling facilities using geolocation and interactive maps. Built with Next.js, React, TypeScript, Tailwind CSS, Node.js and Express, it includes a user dashboard, environmental impact visualization, recycling resources and eco-incentive features.
What You Will Get
Project Overview
The E-Waste Facility Locator (ELocate) is a web application designed to make electronic waste recycling more accessible. It helps individuals and organizations discover nearby e-waste drop-off facilities and learn about responsible electronic waste disposal.
The project uses Next.js and React for the frontend, TypeScript for application development, Tailwind CSS for responsive styling, and Node.js with Express for backend API handling. Mapbox and Leaflet support map-based navigation and geolocation features.
The application also focuses on environmental awareness by providing educational resources, environmental impact visualization and incentive-oriented features that encourage responsible recycling practices.
Available Features
Advanced E-Waste Facility Locator
Helps users locate nearby e-waste drop-off centers through geolocation and interactive map functionality. Map-based navigation makes it easier to explore potential recycling locations.
Interactive User Dashboard
Provides a personal dashboard designed to display recycling history and environmental impact information, helping users understand their contribution to responsible electronic waste disposal.
Environmental Impact Visualization
Presents environmental impact information through a visual interface to make recycling activities and their potential benefits easier to understand.
Eco-Incentive Rewards
Includes an incentive-oriented feature intended to encourage users to participate in responsible e-waste recycling activities. The availability of actual rewards depends on the implemented reward workflow.
Recycling Resources and Guides
Provides educational articles, guides and information about electronic waste management, environmental hazards and sustainable disposal practices.
Compliance Certificate Feature
Includes a certificate-related feature intended to provide disposal documentation. Actual certificate issuance and verification depend on the implemented workflow and supporting data.
Responsive User Interface
Uses Tailwind CSS and a responsive design approach to support a consistent interface across desktop computers, tablets and mobile devices.
Map-Based Navigation
Integrates Mapbox and Leaflet for interactive maps and location-based facility discovery. The project requires appropriate map configuration and API credentials where applicable.
Contact and Email Integration
Includes contact and email functionality through EmailJS, allowing the interface to support communication-related workflows.
Technology Stack
- Frontend Framework: Next.js and React
- Programming Languages: JavaScript and TypeScript
- CSS Framework: Tailwind CSS
- Backend: Node.js and Express
- Mapping: Mapbox and Leaflet
- Authentication Technologies: JWT and OAuth, as listed by the project source
- Email Integration: EmailJS
- Database: None in the documented frontend-focused prototype
Application Architecture
ELocate is documented as a frontend-focused prototype with a Node.js and Express backend layer. The project page lists no database for the current prototype. Persistent recycling history, reward balances, certificate records and other long-term information may therefore require additional backend and database implementation depending on the supplied source code.
Software Requirements
- Node.js version 18.17.0 or higher
- npm or Yarn
- Visual Studio Code
- A modern web browser
- Mapbox credentials and environment configuration, where required
- Environment variables configured according to the supplied project files
Installation and Execution
Extract the project files and open the project folder in Visual Studio Code. Install the required dependencies using npm, configure the environment variables using the supplied example environment file, and add the required map credentials.
npm install
cp .env.example .env
npm run dev
On Windows, create or edit the .env file manually if the cp command is unavailable. Run the development command from the directory containing the relevant package.json file. If the project contains separate frontend and backend directories, follow the supplied package scripts and project documentation.
Future Enhancement Possibilities
- Integrate MongoDB or Firebase for persistent data storage.
- Develop Android and iOS applications.
- Add IoT-based collection-bin tracking.
- Introduce corporate dashboards and analytics reports.
- Develop AI-powered recycling and location recommendations.
Project Applications
- E-waste recycling facility discovery.
- Environmental awareness and sustainability projects.
- Map-based location finder applications.
- Responsive Next.js and React web development.
- Academic projects focused on electronic waste management.
Watch Project Demo
Watch E-Waste Facility Locator Project Demo
More Details and Full Documentation
Project Modules
2. Geolocation Module
3. Mapbox and Leaflet Integration Module
4. Map-Based Navigation Module
5. User Dashboard Interface Module
6. Recycling History Interface Module
7. Environmental Impact Visualization Module
8. Eco-Incentive Rewards Interface Module
9. Recycling Resources and Guides Module
10. Compliance Certificate Interface Module
11. Responsive User Interface Module
12. Contact and EmailJS Integration Module
13. Next.js and React Frontend Module
14. Node.js and Express API Module
15. Environment Configuration Module
Installation Guide
1. Install Node.js version 18.17.0 or higher.
2. Install Visual Studio Code.
3. Extract the project ZIP file and open the project folder in VS Code.
4. Open the integrated terminal.
5. Verify the installation using: node --version
6. Verify npm using: npm --version
7. Install project dependencies using: npm install
8. Locate the .env.example file in the project directory.
9. Create a .env file by copying .env.example or creating it manually on Windows.
10. Configure the required Mapbox credentials and other environment variables.
11. Review package.json to identify the correct development command and application directory.
12. Start the application using: npm run dev
13. If the project separates its frontend and backend, install dependencies and start each component according to its package.json scripts.
14. Open the local URL displayed in the terminal.
15. Test the facility locator, map navigation, dashboard interface, recycling resources and responsive layout.
16. Verify that any email or authentication functionality has the required configuration.
17. Note that the documented prototype has no database; persistent records may require additional configuration or implementation.
FAQ for this project coming soon.
No reviews yet. Be the first to review!